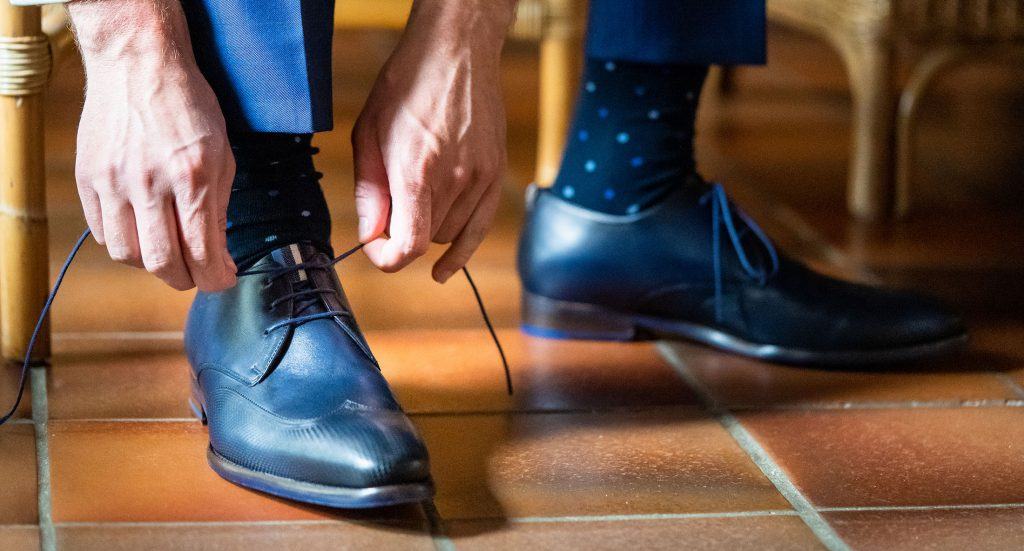
If you’re like most people, you lace your dress shoes without giving it much thought. Thread the laces through your shoe’s eyelets and, well, that’s the extent of it.
Maybe it’s time to give it some thought, however. Like anything else, there are right ways and wrong ways for lacing dress shoes and doing it the right way adds a touch of class and style to your footwear and wardrobe.
We’ll look at some different methods for lacing shoes and take a brief look at shoelaces, which have been around since ancient times.
The chances are that you’ve spent a lot of money on your dress shoes. Why not make the most of them by lacing them the right way?
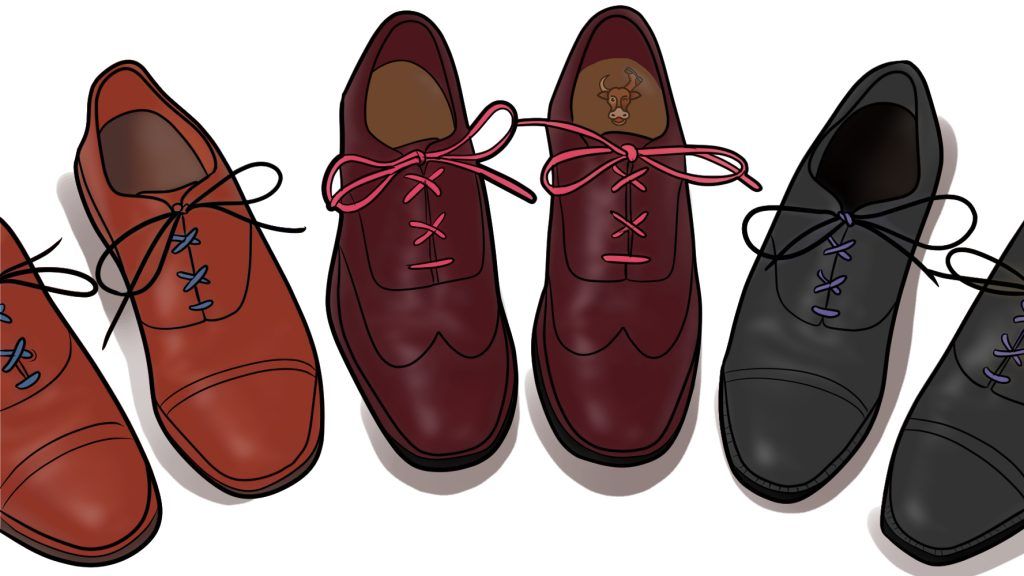
4 Ways to lace dress shoes
There are four main ways to lace your dress shoes: straight bar, criss-cross, diagonal, and over-under.
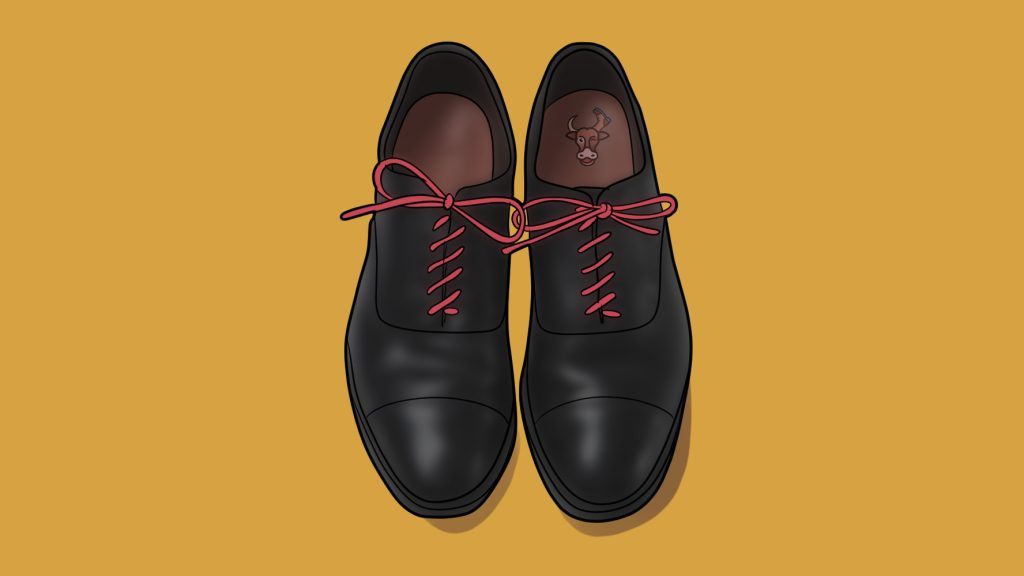
1. Straight bar lacing

Straight bar, or straight lacing is a common method for lacing dress shoes and the best method for shoes with closed laces. “Closed” laces refer to shoes in which the vamp – the part of the shoe’s upper that covers your toes and instep – while open-laced shoes are those in which the quarters meet the vamp and mid-foot and wrap around the heel.
Many experts say that straight lacing works best for how to lace Oxfords because it enables the shoe’s uppers to come together in the middle. The laces run parallel and straight across on the outside and diagonally inside. No worries about the zig-zag look underneath; it’s hidden by the straight lacing above, which creates a clean view from the top.
Here’s how to straight lace Oxfords and other dress shoes:
- Remove the laces from your shoes and make sure each are of equal length.
- Begin lacing straight across on the outside of the shoes and through the bottom holes.
- Point the toe cap of the shoe towards you and insert both ends of the shoelace in the bottom holes, i.e., the eyelets closest to you.
- Pull both ends while making sure that they’re even.
- Pull your laces taut to form your first straight bar.
- You create the second bar by running the left lace up on the inside from the first eyelet to the second, then straight across on the outside.
- Lace the right end of the shoelace along the underside of the eyelet and run it from the first eyelet to the third eyelet on the right side of the shoe.
- Pass the left shoelace from the second eyelet to the fourth, also on the right side of the shoe. Meanwhile, the ends of both shoelaces run straight up the inside with each skipping an eyelet and re-emerging two eyelets higher up.
- Both ends will then continue straight across on the outside through adjacent eyelets to form the third and fourth bars.
- Next, pass the right lace from the third eyelet to the fifth while the left lace runs diagonally from the fourth and fifth eyelets on the right side. Finish up by making sure the eyelets are of even length,
While straight lacing works great for closed lace shoes, it’s also versatile enough to work in open lacing styles, too. It provides an overall sleek look no matter how many eyelets your shoes have.
Among the many advantages of straight lacing is that your shoe’s tongue looks neater and more aesthetically pleasing than with regular lacing techniques. It also provides a firm grip to your shoes’ upper, as well as offering balanced pressure, support, and comfort while you walk.
This video provides an up-close look at straight lacing dress shoes:
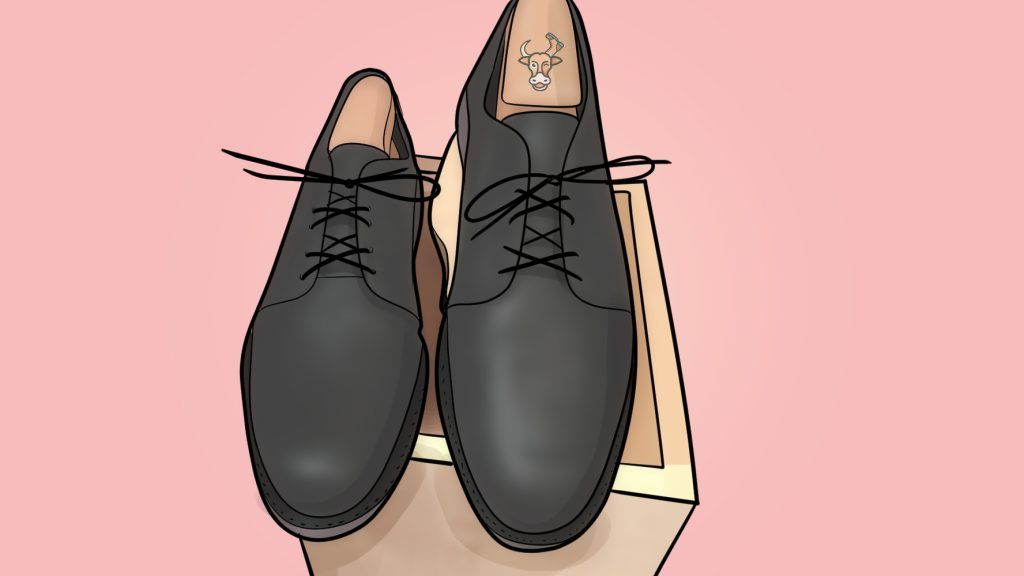
2. Criss-cross lacing
Criss-cross lacing is one of the easiest methods and is preferred by many people. Your shoes probably featured the criss-cross style when you bought them.
Criss-cross works best with open lacing because the open design makes it easier for your fingers to bring your laces over and under the vamp.
Among the many reasons criss-cross lacing is popular is that it’s a no-brainer regarding its difficulty.
- Begin the process by looping the laces through the bottom eyelets of your shoes. Run one end of the shoelace through the bottom eyelet on one side of the shoe and then pass the lace under the shoe’s tongue to the opposite eyelet.
- Push the lace through the opposite eyelet.
- Pull the lace upward to form a loop that runs from one eyelet to the other.
- Pull the laces until their length is approximately the same on either side.
- Pull the right lace through the second eyelet on the left.
- Pull the left lace through the second eyelet on the right and pull it snug to create the criss-cross pattern.
Check out this video for a demonstration of the criss-cross lacing pattern (albeit on a pair of sneakers, but the method is the same for any shoe):
3. Diagonal
The diagonal lacing method, also known as the “Double Helix,” represents a cool design that works well for dress shoes of any type. It works best when you have a higher number of eyelets, and it goes like this:
- Slip the shoelace above the facing and through the right eyelet.
- Thread the left shoelace through the bottom-left eyelet below the facing of the shoe. Pull both laces so that they’re even.
- Thread the left shoelace through the opposite right eyelet while making sure that the lace goes from the outside of the shoe towards the tongue.
- Thread the right shoelace through the left eyelet. Then thread it through the opposite right eyelet so the face from the outside of the shoe’s facing towards the tongue.
- Repeat steps three and four until there’s one set of eyelets remaining.
- Complete the diagonal lacing method by running the laces through the top eyelets below the facing so that the shoelace lays flat.
Here’s a video that demonstrates the diagonal (or Double Helix) lacing method:
4. Over-under lacing
Another popular dress shoe lacing method is the over-under. It results in a symmetrical design that’s grounded by a straight bar, and it looks best on shoes with closed lacing. It’s easier to tighten than most other lacing designs.
- Point your shoe so that its toe faces you. Slip your shoelace through the bottom eyelets to create a straight bar.
- Thread the left shoelace through the right eyelet and then take the right shoelace and run it through the left eyelet.
- Repeat the process: take the left shoelace and thread it through the right eyelet and take the right shoelace and run it through the left eyelet. But thread it so that the laces go from the outside of the facing toward the tongue. This will create the first “X” shape that leads to the overall symmetrical design.
- Repeat the second and third steps until you have one set of eyelets remaining.
- Thread both ends of the laces through the top set of eyelets below the facing.
- With an odd number of eyelet pairs, start the process by threading the laces under the facing of the shoe. You’ll begin at step three above to create your first X-shape.
The following video demonstrates the over-under lacing design (again, on a pair of sneakers, but the idea is the same for every type of shoes):
Other lacing methods
The four lacing systems above represent only a portion of the methods you can use; we included the above four as being most appropriate for lacing dress shoes. But there’s nothing wrong with the vice-versa method, which is a decidedly minimalist design in which only a small portion of the laces is visible.
The lattice lacing method is an intricate design with a woven look that features an over-under-pattern that takes time to get right. But the results are one-of-a-kind.
Interestingly, the CIA had a distinct lacing system used for signaling purposes, particularly in the 1950s and during the Cold War. Most agents wore Oxfords in which the sides of the shoes met in the middle. It looks rather messy on dress shoes.
Why the way your laces look is important
The three main reasons why you should care about how your laces look are aesthetics, security, and comfort.
1. Aesthetics
A properly-tied shoe is one in which the knot rests flat against the shoe while bow lays across the shoe’s upper rather than along the shoe’s length.
2. Security
Not only should your laces look good and properly tied, they should also be secure enough not to loosen or come loose as you walk.
3. Comfort
Not only should shoelaces keep your shoes securely on your feet, but they should also add to the shoe’s overall comfort. And your feet won’t feel comfortable in shoes that are too tight or too loose.
A brief look at shoelaces and how to tie your shoes
While no one really knows when shoelaces were invented, archaeologists have found remains of hemp, rawhide, and other natural fibers that date to 3,500 BC, if not later. Even the earliest footwear needed laces or some other type of binding to secure them to the wearer’s foot.
Laces have come a long way since although their basic purpose remains the same. Today, you can buy flat shoelaces that are thinner than most other types, especially for dress boot laces. Flat laces go well with Derby-style shoes.
Round laces last longer than other types and help provide a classic clean-cut detail to Oxfords and brogues. The higher quality the round lace, the thinner it is.
In general, thick waxed cotton laces are preferable for dress shoes.
Modern laces consist of natural or artificial fibers bound tightly to create a rope-like structure. The ends of laces feature an aglet, a cylinder made of plastic or metal the prevents the ends of the laces from fraying, as well as making it easier to thread them through the shoe’s eyelets.
The length of shoelaces also varies widely from 60cm to 300cm in metric sizes, and from 24-inches to 120-inches imperial. But most stores, including shoe stores, don’t always sell every type of length, width, shape, and color of shoelaces.
A quick primer on how to tie your shoes
Like most of us, you’ve probably tied your shoes the same way that you learned before you started elementary school. It’s probably something called the granny knot and it’s served you well for all these years. And there’s nothing wrong with it.
But, the thing is, the laces of a granny knot tend to hang crookedly, instead of horizontally across the top of your shoe in a straight line. The best way to tie your laces, so they look good and come undone less easily is as follows:
As you can see from the video, the best way to tie dress shoes is much like tying a granny knot, save for a small variation.
Conclusion
Taking the time to tie your dress shoes correctly helps to demonstrate that you care about how you look – head to toe. It represents a classic touch that sets you apart from others while showing that you know a thing or two about fashion.
How about you? What method do you use to lace your dress shoes? We always welcome your comments and suggestions.
YOU MIGHT ALSO LIKE:
Best Indoor Soccer Shoes To Up Your Game (Men & Women)
Best Running Shoes For Wide Feet (Men & Women)
Best & Most Comfortable Driving Shoes For Men & Women
Best & Most Comfortable Nursing Shoes For Men & Women
Best Comfortable Shoes For Standing All Day (Men & Women)